Friday, August 14, 2015

Lego Cabinet

We are always looking for more Lego space. (Too many Lego's)  This entertainment cabinet has been living in a dark corner in the basement. I realized we could spice it up and make some room for Caden's collection.


We knew it couldn't just be a plain black shelf. That's no fun for Lego. Caden likes "environments" for playing. So we drew out some guidelines, mixed up some chalk paint and got to it.


We reused the stippling and Sandy textured spray paint to relocate the Star Wars Sarlac pit scene. 


Cut a new shelf to fill the open gap for the Ninjago Temple.


Painted grass and pathways for Hogwarts Castle. 


Then pulled all the Bionicles out of storage to really prove to Mom that we have spent far too much over the years. 


It got Crammed up the stairway of our new house. It was a tight squeeze that took a few turns and a couple of scratched walls to get just right. But its contents were the first thing "the Boy" unpacked when we got here.
So, over all, a success.


Tuesday, August 11, 2015

Status Update

Just gonna sneak this on in here. 
It's August 11, 2015. August 7 would have been my anniversary. 23 years it would have been. Instead, I have been officially divorced for 2 months today. 

I have such divided emotions on this. On one side, we probably could have saved things. But this status change has been brought up to me, regularly for the past 14 years. I think I finally realized we had both stopped taking care of each other. I was tired of never being "enough". Of always having that over my head. So the last time it came up, I agreed. 

The divorce part is easy. We had seperated ourselves long ago. It's all the rest of it that terrifies me. My first concern was money.   -Failure Is Not An Option-. I went from being a home Mom to working very physically, full time. I have a deep need to earn my way, to earn my check so I keep pulling as many hours as I can find, to help fill the money gap. My body is hurting. But I am so thankful to my dear friend and his sweet wife who gave me a job. I am thankful it is active and lets me move and experience multiple locations and many fun people. 

 I started a savings and was building it up, until 2 car repairs, and a fall slamming  my head into the pavement, whittled it all away. So now I am failing. And I don't know how to get back up.

Know there have been and are blessings coming to me. I know all will be well. I know God is working to get me Somewhere. But I can't sit around waiting for that. I have no idea what steps I should be taking to help the process along. I just know there is no one coming to save me and I Have to figure it out for myself. I have to be strong for myself. When I really want to have me one of them "curl up in a ball and cry" things. 

Friday, July 10, 2015

Sword 2.0

When I decided to rebuild the sword I put a post on Cosplay Utah and the amazing Fitz from Caliston Armory responded. http://www.calistonarmory.com . Fitz is amazing and so helpful. I visited his shop and left with a Carbon Fiber center post, a sheet of EVA foam and clear instructions so I could make good progress before needing him again. 

 Cut out your foam pieces. The center one seen above has the center section cut out so the main post could be placed to secure the whole thing and provide hilt space. I used the packing tape that has  strings layered in, to secure it but I cut the tape too long. I ended up fighting some of those ends once I was sanding the blade angles in. Using a steel brush, rough up the smooth foam underside. The next step is getting the layers bound together using Weldwood Contact Cement. (hit it with a heat gun before laying down on next piece)


Once they are all in it is time for shaping and sanding. This foam sanded down nicely but leaves a pretty good mess of dust. Once all the pieces were sanded we placed them on the center post. I thickened up the handle by wrapping leather over a layer of mounting tape wrapped over a PVC tube then sliding that in place. 


Back to see Fitz and have him help secure all the parts and spray Plastidip over the whole thing. 


Looks nice huh?


Some Hammered Steel spray paint.  Followed by the Blue my son chose. 


We ended up with a HUGE sword that is light weight with clean lines. We were SO much happier with these end results. 


Much to work on before September. Some of it might even get finished. ;-)

Sword 1.0

My son decided he needed a sword for his cosplay then drew this picture for me.  My first thought was "How it the world am I going to do this?" 

I started looking online and found the awesome Kamui Cosplay http://www.kamuicosplay.com .  She makes some amazing things and she is fun to watch. I followed her spray foam tutorial. but I didn't quite get her results. 

You start with a basic cardboard form

Cover it in Spray Foam (WEAR GLOVES)


Once dry you shape it out with a blade 


At this point I was quite proud. It was looking Sword like and my son was happy with it. But the foam had so many large holes in it. I filled holes with more spray, then shaped those new bubbles back down to the shape. 


I used glue to try to fill and smooth. I even went to a prop shop and bought something specific to fill and never was happy with the texture. Figuring I had done all I could, I moved on to the Paper Mach'e


Basic Paper Mach'e.  No big deal. 


There, a sword.  Some spray paint and we had...


A heavy sword with a strange angle and a rough texture that we couldn't sand down. I wasn't happy with it. Then the whole outer shell started cracking. I'd refill the crack and that would crack. Eventually an entire blue tip pealed right off. At that point I decided my spray foam days were over. We were going to start over We needed a new plan. 


Sword 2.0 to come soon. 

Wednesday, March 18, 2015

Alice Cosplay

Like stated in the last post, we needed a kid friendly, recognizable character. Once Jenna got Alice in her mind she started sketching out what she would want it to be. 

Cute huh?  So the challenge is on. We found a great fabric in the clearance section. I bought far more than needed. Just to keep things out of order, we then found a really good pattern.


Time to start sewing. 


I knew she wanted the skirt to be Pouffy so we made a full tulle under layer. 


Time for accessories. Of course the wig and hat.


A purse for her phone with a few details. 
If you look close there is a Cheshire Cat ring being held in her purse clasp and a cute Alice pocket watch.  


And now, the completed look as worn to SL ComiCon FanX.


How cute is this girl??


Monday, March 16, 2015

Alice Hat

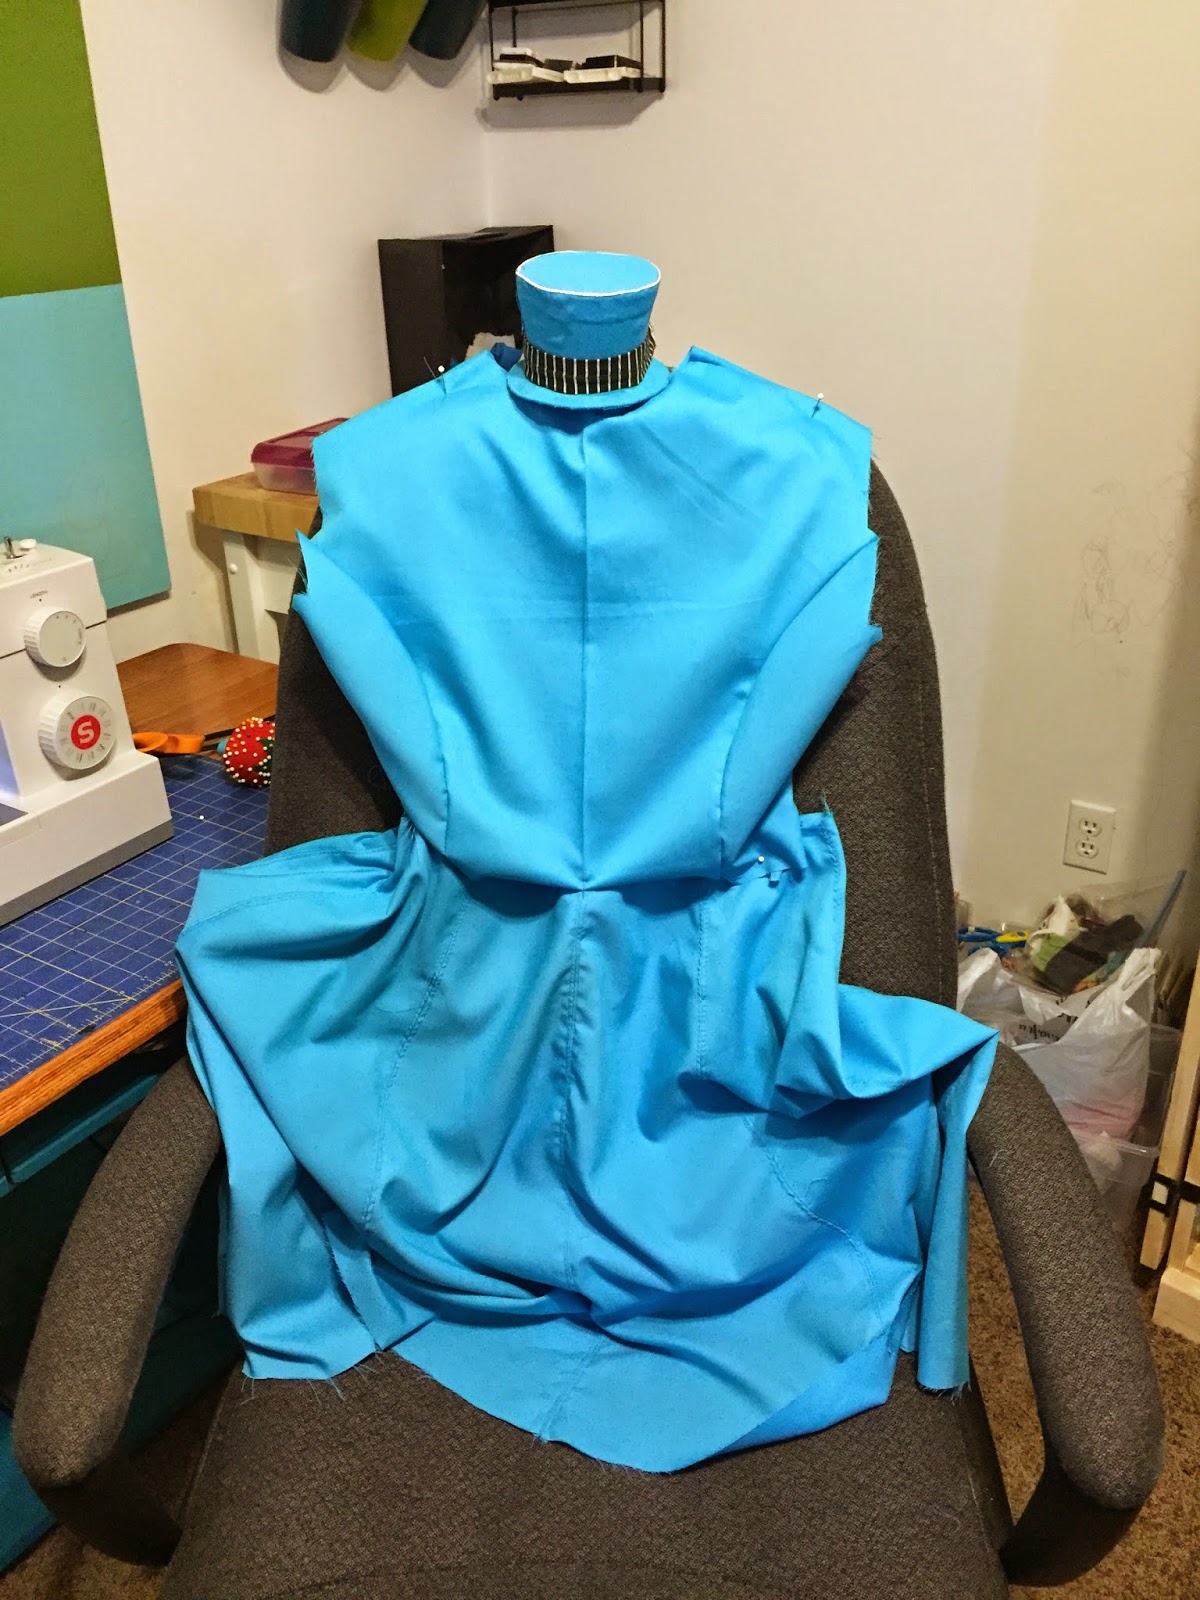
As Cosplay volunteers there is a need for family friendly, recognizable characters. My daughter loves anime and usually cosplays from there but she also comes to events with me and decided she wanted to be Alice in Wonderland. She drew out her own dress design and included a hat. this is how we put her hat together. 

Using basic craft foam you can see I cut angles into a straight rectangle to create a proper shape.

It cannot be a straight line rectangle. so cutting and tucking the lines allowed me to have an arched template to recut the actual upright portion of the hat.  


a CD ended up being the proper diameter for the brim. 


Then cut a smaller circle for the top.  Not sure what I used as a template.


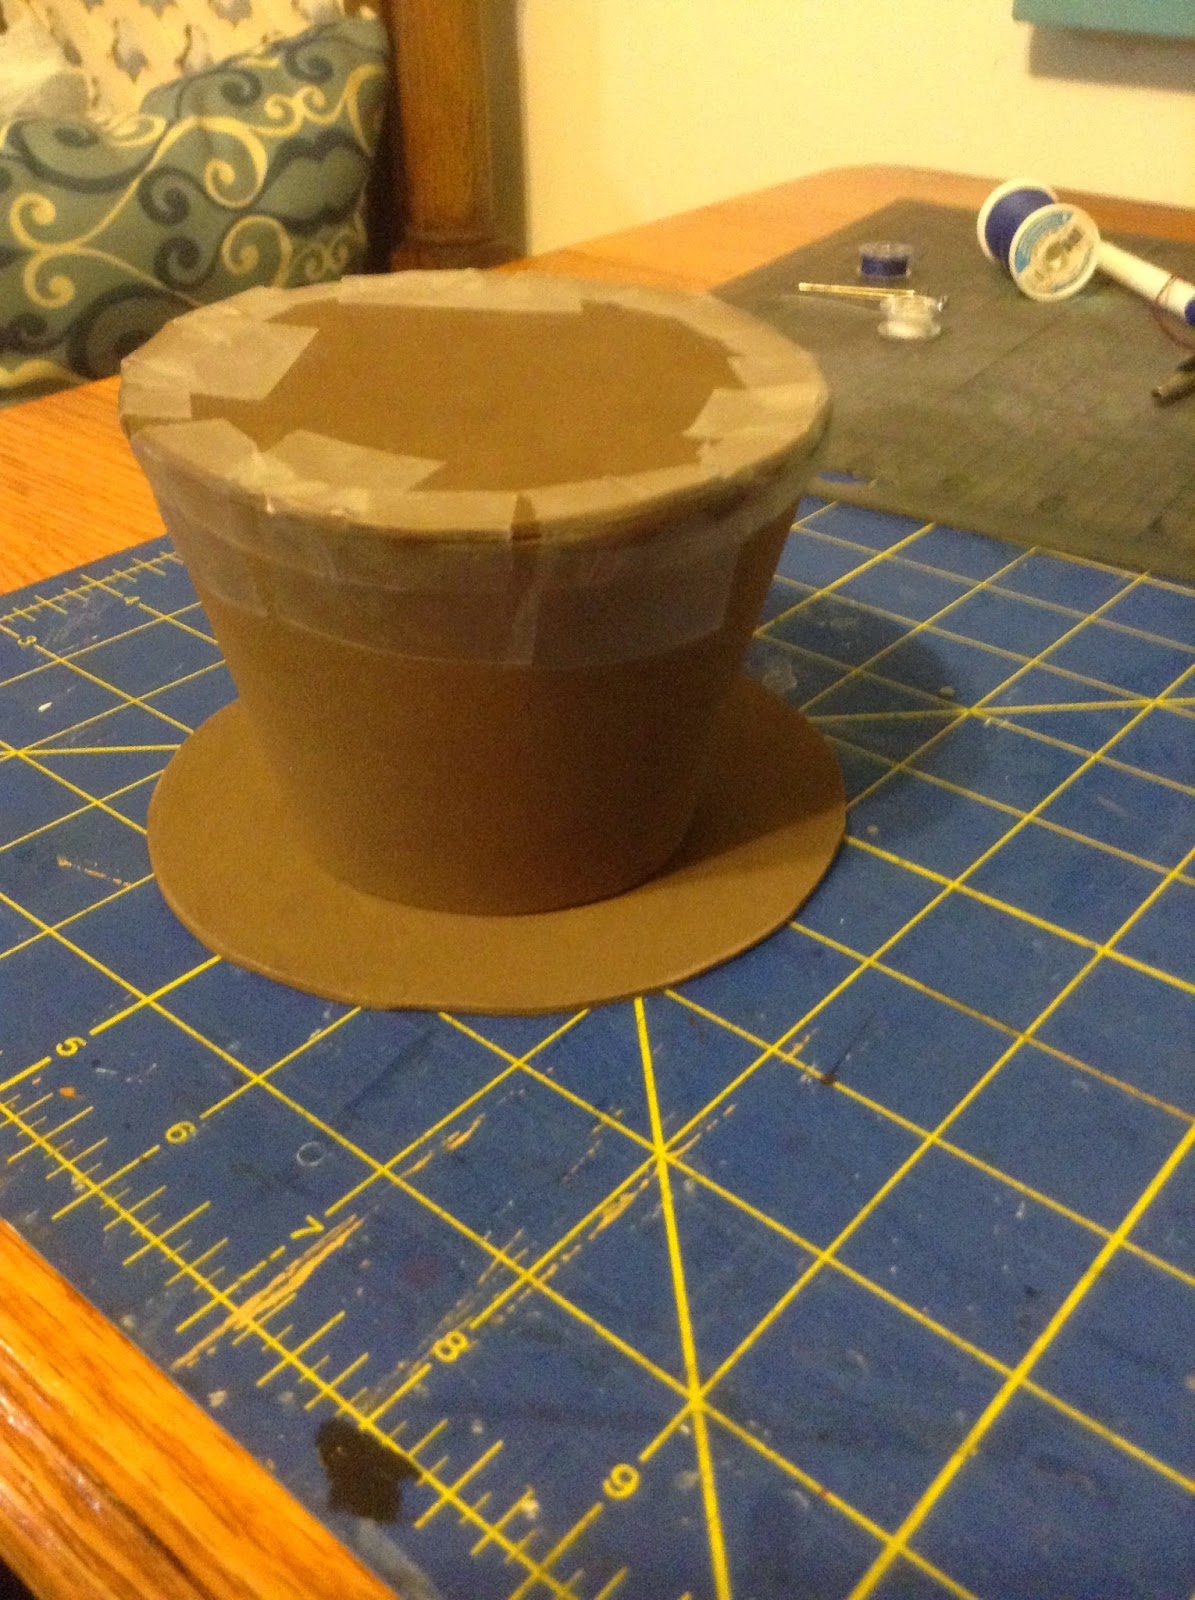
I wanted to make sure it was the topsy turvy shape we wanted so I did a simple tape job and cut down anything that didn't feel right. 


Then it was time to glue. I'm becoming a big fan of E6000


Once the glue was applied I re-taped to hold everything in place while the adhesive set.


Looking about right. I got to this point on my photos and realized I didn't take any shots of applying the fabric. We just used the same fabric as her dress. Cut it a bit larger than the foam pieces and lightly painted Aleene's Flexible, Stretchable Fabric Glue. I applied the top and brim fabric first with cut notches wrapped over the edge. Added a bottom piece as a solid finish. Then, using the same arched template I cut a piece to put a solid, clean finish to the upright. then after all of this I wasn't happy with it. I recut all the pieces, wrapped them all in the fabric THEN glued it all together. it ended up with a MUCH cleaner look.   


I then turned it over to the daughter to put it all together. We had to have a pink feather representing Flamingo Croquet. I got a hold of an old clock face. It had some spacer posts on the back so we added a layer of foam to expand the attachable surface. 


a striped fabric band and a few gears and she was happy with the outcome.


Cute Huh.  It really is simple. I honestly made it up as I went along knowing the hoped for outcome. The nice thing about craft foam is that it's cheap. So play with it, make mistakes, then be proud of yourself for playing and creating.

The dress will be my next post.