Do you wanna see the inside of this cabinet? I'll show you a few ideas I had to make the best use of space.

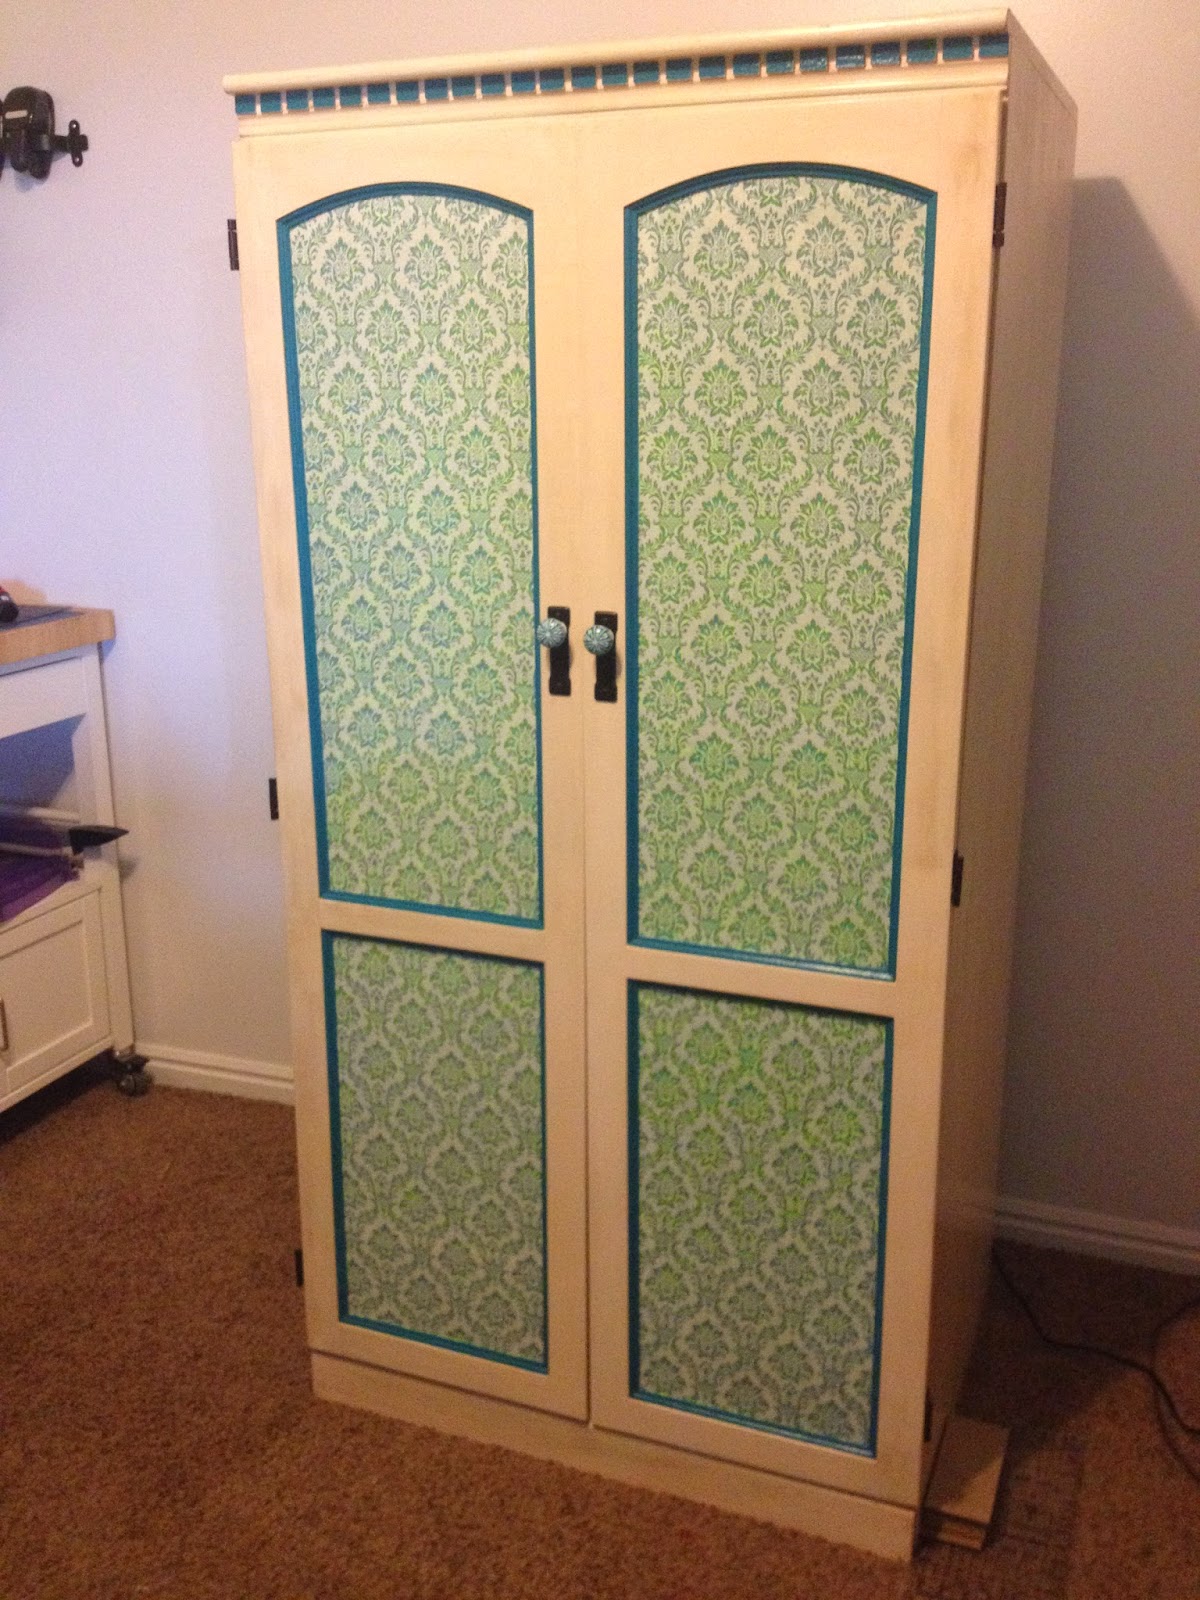
This is now my sewing cabinet.

I have multiple drawers in the other cabinets around my craft corner so I wanted to make sure everything I needed for sewing was in one spot. I put rubber grip feet on the bottom of two of my nice divided trays and moved them onto the keyboard pull out. The rubber grips work really well at keeping the trays from shifting.

Next up was the disk sorters. I couldn't remove them but I didn't want that to be dead space. I nightmared about that before I even had the cabinet. I cut some chipboard the proper width and re-wrapped all of my ribbon.

Then I added some more foot grips at the back of the slide spots so the cards had a stop point to keep them lined up all pretty at the front.

Nice Huh? I am so excited about this. It is right where I can see it all and it is, of course, color organized.

I bought a couple of file boxes at Ikea and painted them the proper color. Then labeled them (because without labels its easy for things to loose their home). Now my beads and paint are nicely placed in those boxes.

Next up, Stamps. I have a bunch from over the years. I wanted to make a specific spot for them. I needed it to fit in the cabinet but didn't want them sliding out of stacks every time I opened the slide out shelf. I purchased some thin wood and some corner braces.

Then turned them into a box.

Added some divide pieces and made it all fit within the framing of the slide out.

I am so thrilled with how this turned out. I can see the stamps and they are in a very confined storage.

The middle slide out has become a spot for card making. It's a bit random, but its all right there.

Over all I am so happy with how this turned out. I sorted my whole room to make sure it all had very definite zones for my different crafts.
My current project is Cosplay. I talked the hubs into dressing up with me for the next Salt Lake ComiCon. Working on our costumes for that. I may have already set a record for un-picking.